Engineering
Supabase Auth vs Authgear for Next.js: Which Should You Choose?
March 27, 2026
Learn how M2M tokens work, implement OAuth 2.0 Client Credentials, host JWKS, rotate keys, and secure service-to-service authentication with examples in curl, Node, Python, and Go.

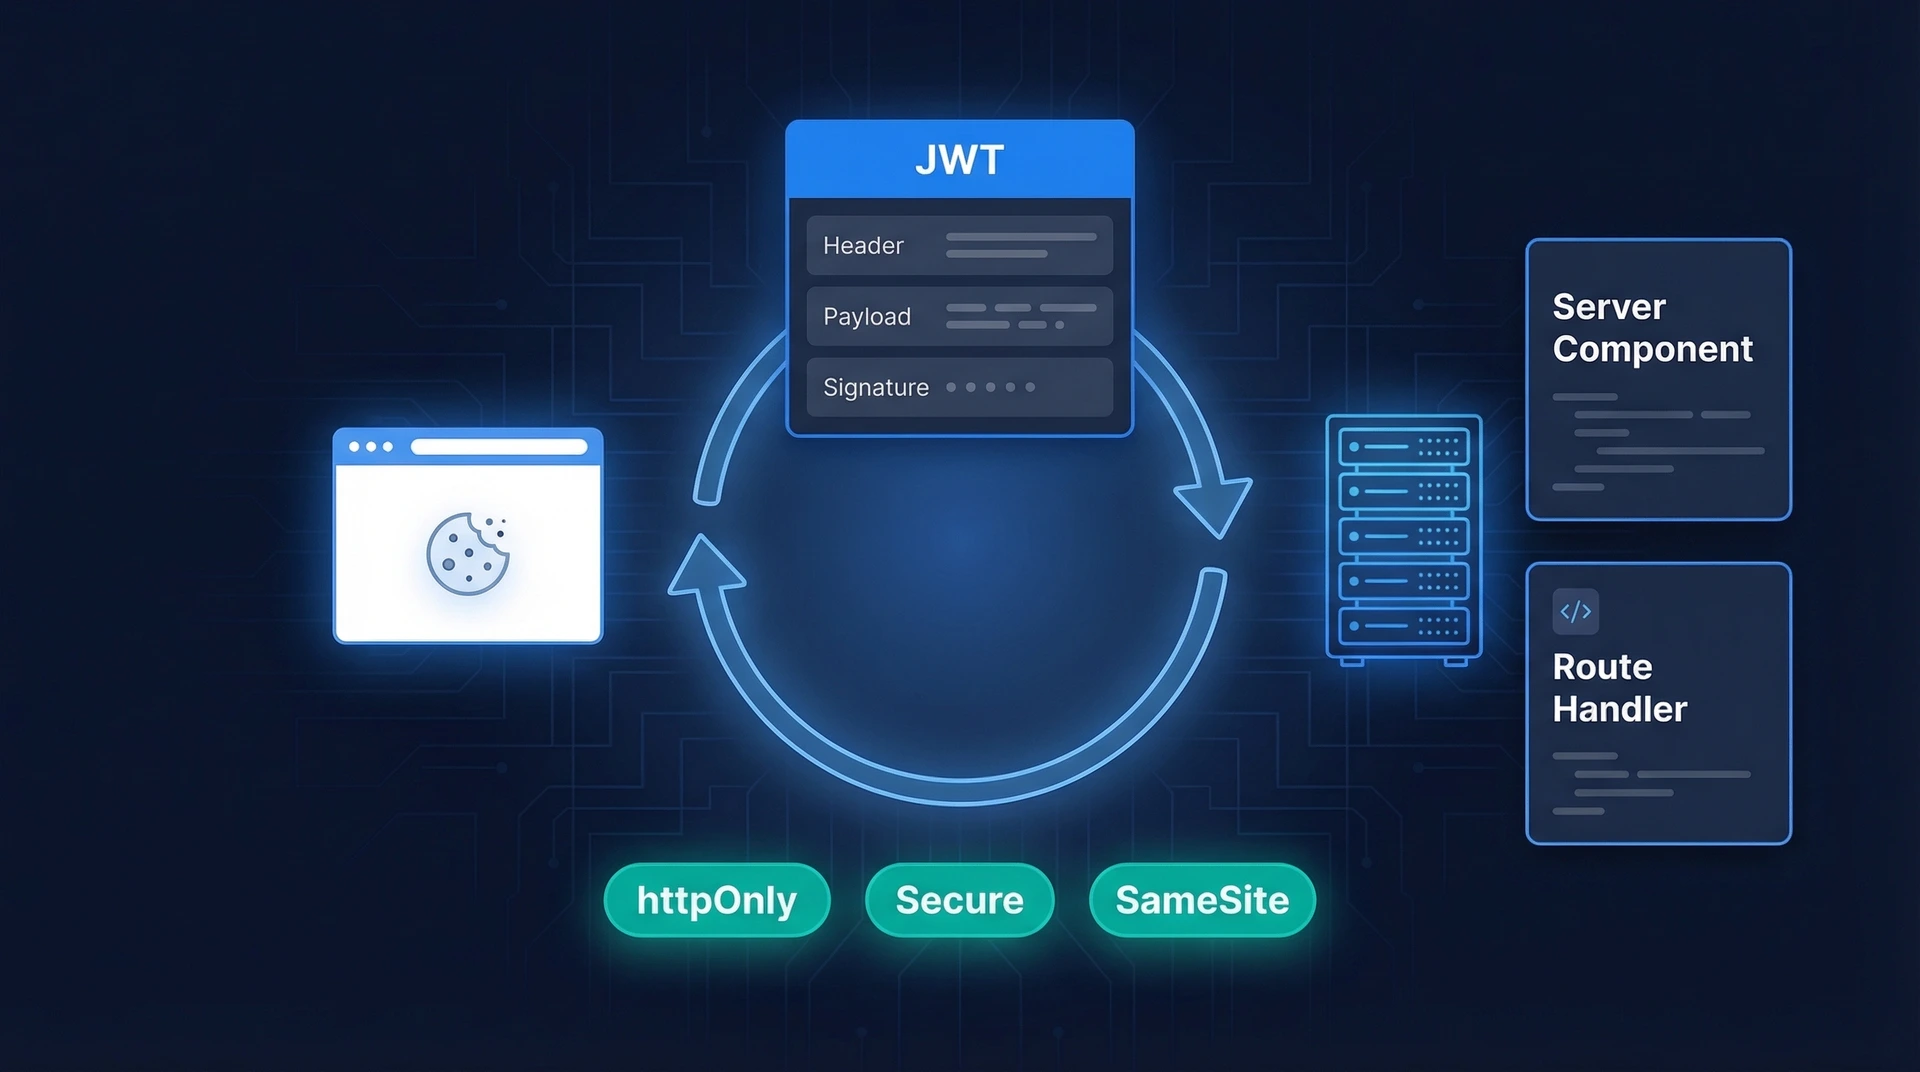
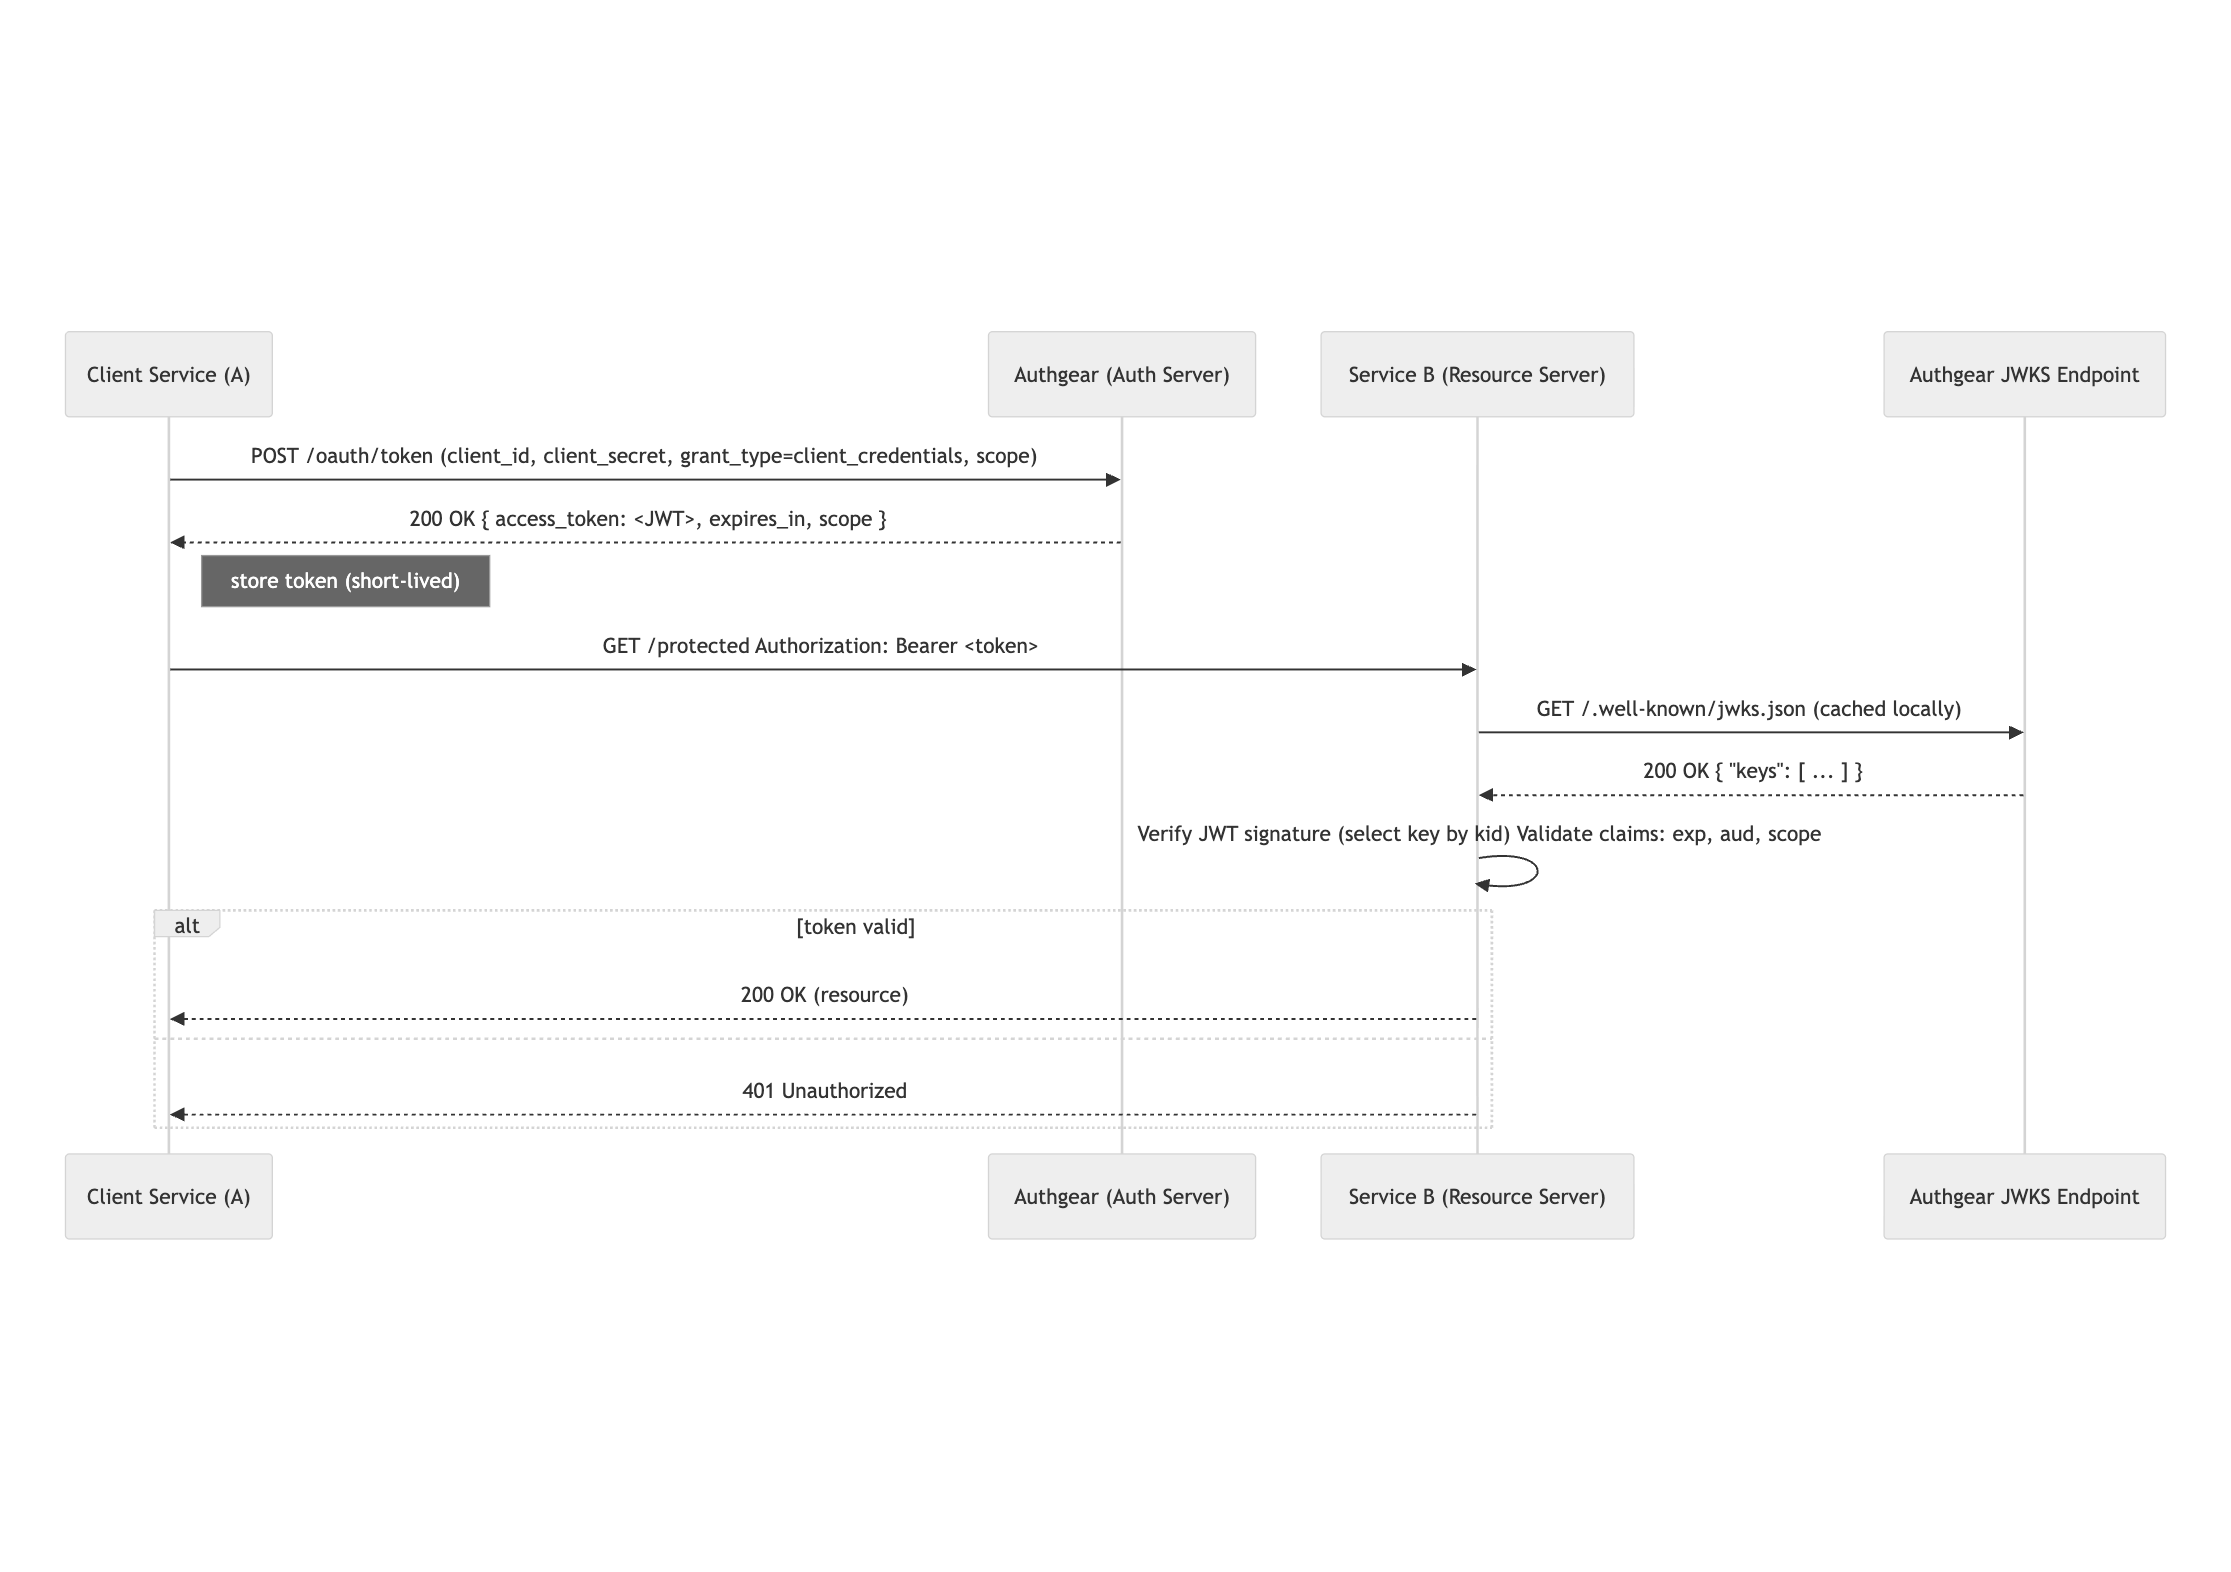
Machine-to-machine (M2M) authentication enables two services — servers, daemons, CI/CD pipelines, or IoT devices — to authenticate and authorize with each other without a human user involved. The most common, standards-based pattern uses the OAuth 2.0 Client Credentials Flow to issue short-lived access tokens (often JWTs) that a calling service includes with requests to protected APIs. See the OAuth 2.0 spec: RFC 6749.
This guide explains:
Static API keys are easy to leak and difficult to rotate at scale. M2M tokens (issued via OAuth) offer:
For these reasons, M2M tokens are the recommended pattern for secure service-to-service authentication.
client_id and client_secret./oauth/token) using application/x-www-form-urlencoded. (See OAuth 2.0: RFC 6749, Section 4.4 — Client Credentials Grant.)Authorization: Bearer <access_token> in API requests.This flow avoids user logins entirely and is ideal for backends and automated systems.
# Replace with your Authgear token endpoint and client credentials
TOKEN_ENDPOINT="https://project_id.authgear.cloud/oauth/token"
CLIENT_ID="your_client_id"
CLIENT_SECRET="your_client_secret"

curl -X POST "$TOKEN_ENDPOINT" \
  -H "Content-Type: application/x-www-form-urlencoded" \
  -d "grant_type=client_credentials&scope=read:orders write:orders" \
  -u "$CLIENT_ID:$CLIENT_SECRET"
{
  "access_token": "eyJhbGciOiJSUzI1NiIsInR5cCI6IkpXVCJ9...",
  "token_type": "Bearer",
  "expires_in": 3600,
  "scope": "read:orders write:orders"
}
const axios = require('axios');

async function getToken() {
  const tokenEndpoint = 'https://project_id.authgear.cloud/oauth/token';
  const clientId = process.env.CLIENT_ID;
  const clientSecret = process.env.CLIENT_SECRET;

  const params = new URLSearchParams();
  params.append('grant_type', 'client_credentials');
  params.append('scope', 'read:orders write:orders');

  const response = await axios.post(tokenEndpoint, params.toString(), {
    headers: { 'Content-Type': 'application/x-www-form-urlencoded' },
    auth: { username: clientId, password: clientSecret },
  });

  return response.data.access_token;
}
jose and a JWKS endpointconst { jwtVerify, createRemoteJWKSet } = require('jose');
const jwksUrl = 'https://project_id.authgear.cloud/.well-known/jwks.json';
const JWKS = createRemoteJWKSet(new URL(jwksUrl));
async function verify(token) {
const { payload } = await jwtVerify(token, JWKS, {
issuer: 'https://project_id.authgear.cloud',
audience: 'your-api-audience'
});
return payload;
}
pip install requests pyjwt cryptographyimport requests
from requests.auth import HTTPBasicAuth
TOKEN_ENDPOINT = "https://project_id.authgear.cloud/oauth/token"
client_id = "your_client_id"
client_secret = "your_client_secret"
resp = requests.post(
TOKEN_ENDPOINT,
data={"grant_type": "client_credentials", "scope": "read:orders"},
auth=HTTPBasicAuth(client_id, client_secret),
)
access_token = resp.json()["access_token"]
print(access_token)
To verify the JWT, see our docs for code examples.
go get gopkg.in/square/go-jose.v2
go get github.com/dgrijalva/jwt-go
package main

import (
  "net/http"
  "net/url"
  "strings"
  "io/ioutil"
  "fmt"
)

func getToken() {
  endpoint := "https://project_id.authgear.cloud/oauth/token"
  data := url.Values{}
  data.Set("grant_type", "client_credentials")
  data.Set("scope", "read:orders")

  req, _ := http.NewRequest("POST", endpoint, strings.NewReader(data.Encode()))
  req.SetBasicAuth("your_client_id", "your_client_secret")
  req.Header.Add("Content-Type", "application/x-www-form-urlencoded")
  client := &http.Client{}
  resp, _ := client.Do(req)
  body, _ := ioutil.ReadAll(resp.Body)
  fmt.Println(string(body))
}
For JWT verification in Go, use the golang-jwt/jwt or square/go-jose packages to fetch JWKS and verify tokens.
kid header to select the correct JWK.Combine both: verify locally for performance but fall back to introspection if the signature is unknown or kid is missing.
Rotation must be planned to avoid downtime. Common strategies:
kid and publish it in JWKS before you start issuing tokens signed by it.Rotate client_secret in an atomic or staged way:
Checklist
kid) and that the JWKS has the corresponding kid.exp/nbf checks pass.Authgear provides an easy path to implement M2M tokens: registration UX for clients, token endpoints, JWKS hosting, short-lived JWTs, audit logs, and options for cloud or self-hosted deployment. See Machine-to-Machine Token feature.
Q: What is the recommended token lifetime for M2M tokens?
A: Short as possible while still enabling operations — 5–60 minutes is common. For long-running jobs, use auto re-auth that requests a fresh token when needed.
Q: Should I use symmetric (HS256) or asymmetric (RS256) tokens?
A: For high security and ease of key management across services, asymmetric (RS/ES) is preferred — you can publish public keys in JWKS. Use symmetric only when both issuer and verifier share a secure secret and distribution is simple.
Q: How do I safely rotate client secrets?
A: Use staged rotation with dual secrets if supported, or schedule a maintenance window and update clients quickly using automation. Prefer supporting multiple active secrets per client.
M2M tokens are the secure, standards-based way to authenticate machines and services. If you want a managed path that implements these best practices with a developer-first UX, see Authgear’s Machine-to-Machine Token feature — Get started and secure your backend in minutes.
Privacy is important to us, so you have the option of disabling certain types of storage that may not be necessary for the basic functioning of the website. Blocking categories may impact your experience on the website.