Engineering
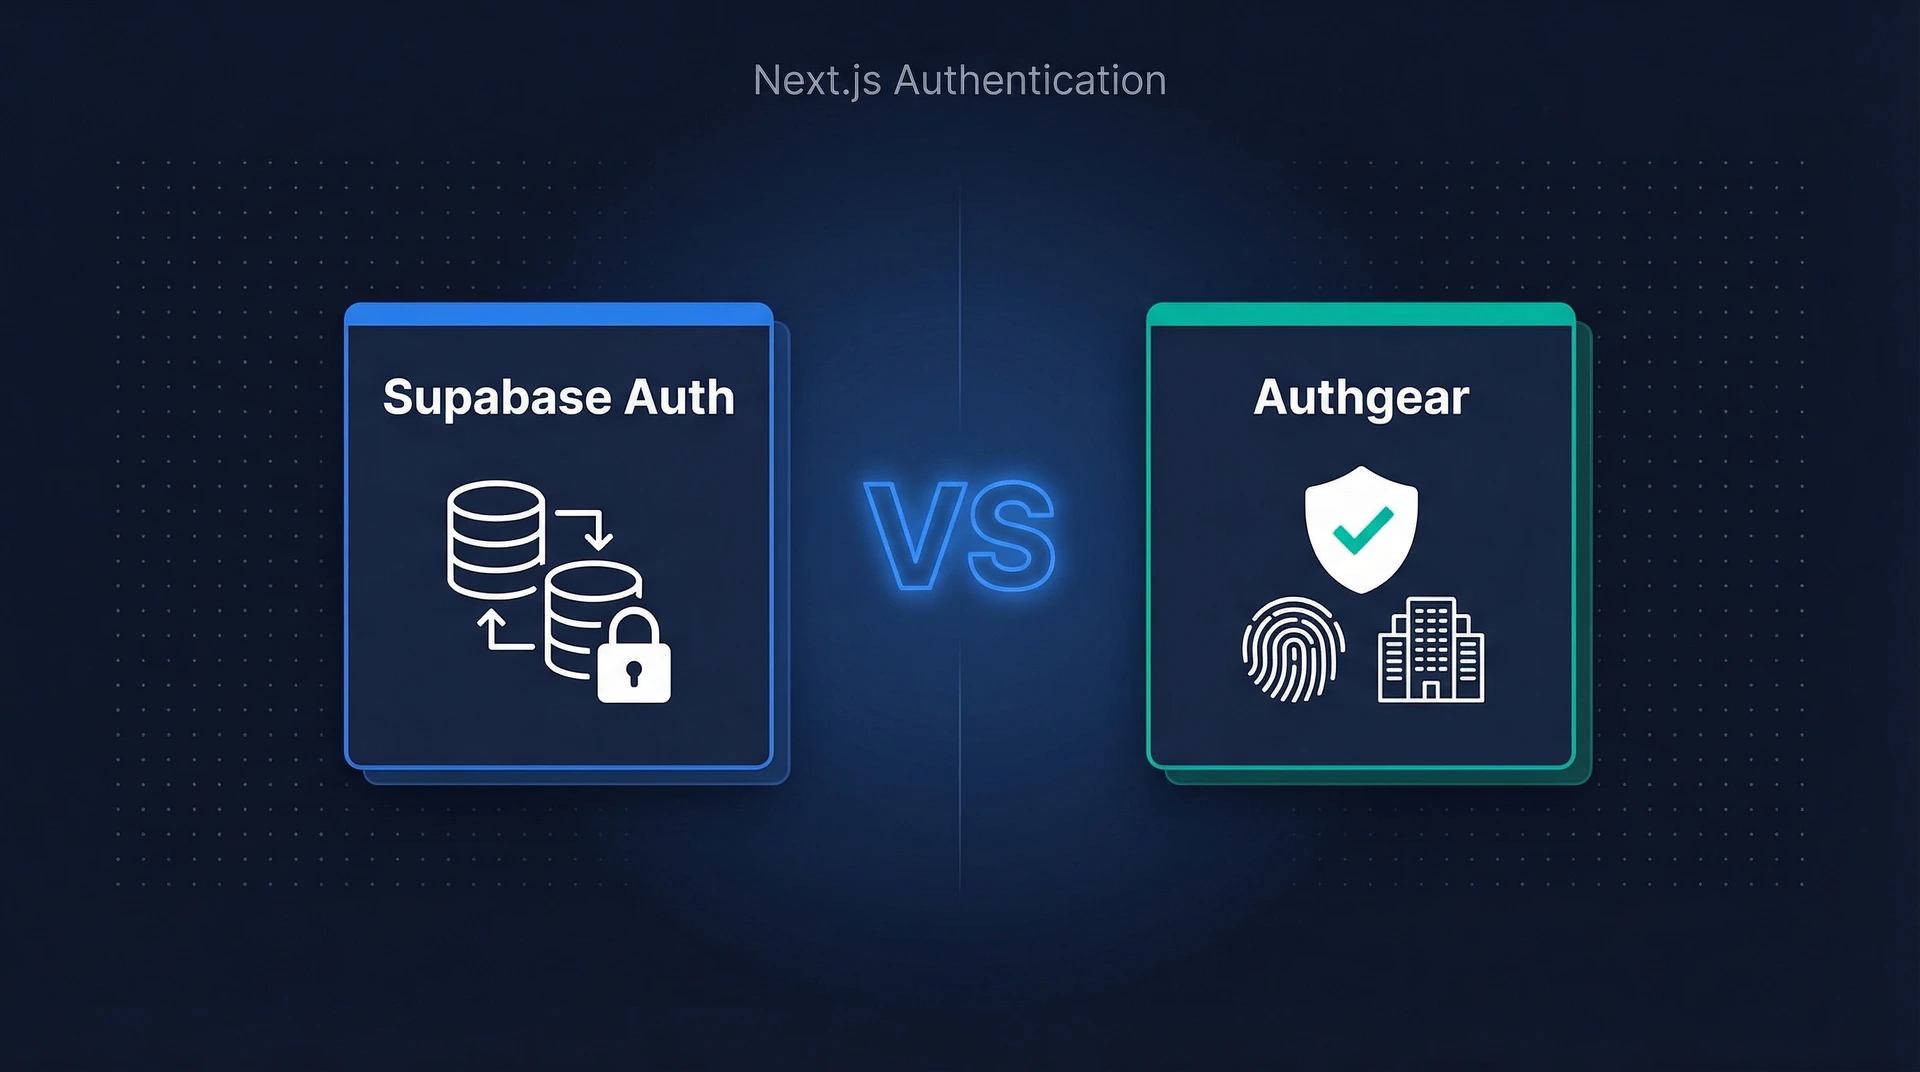
Supabase Auth vs Authgear for Next.js: Which Should You Choose?
March 27, 2026
This post demonstrates how to easily add authentication to any Javascript Single Page Application (SPA) using Authgear.


All web apps today need users to sign in and share their info to make their own profiles. This helps the app give them a personalized experience securely. There are two ways that the developers can authenticate the users – either they can create their own authentication system or they can use an identity and access management service that provides secure user registration and login capabilities with built-in login pages.
This post demonstrates how to easily add authentication to any Javascript Single Page Application (SPA) using Authgear.
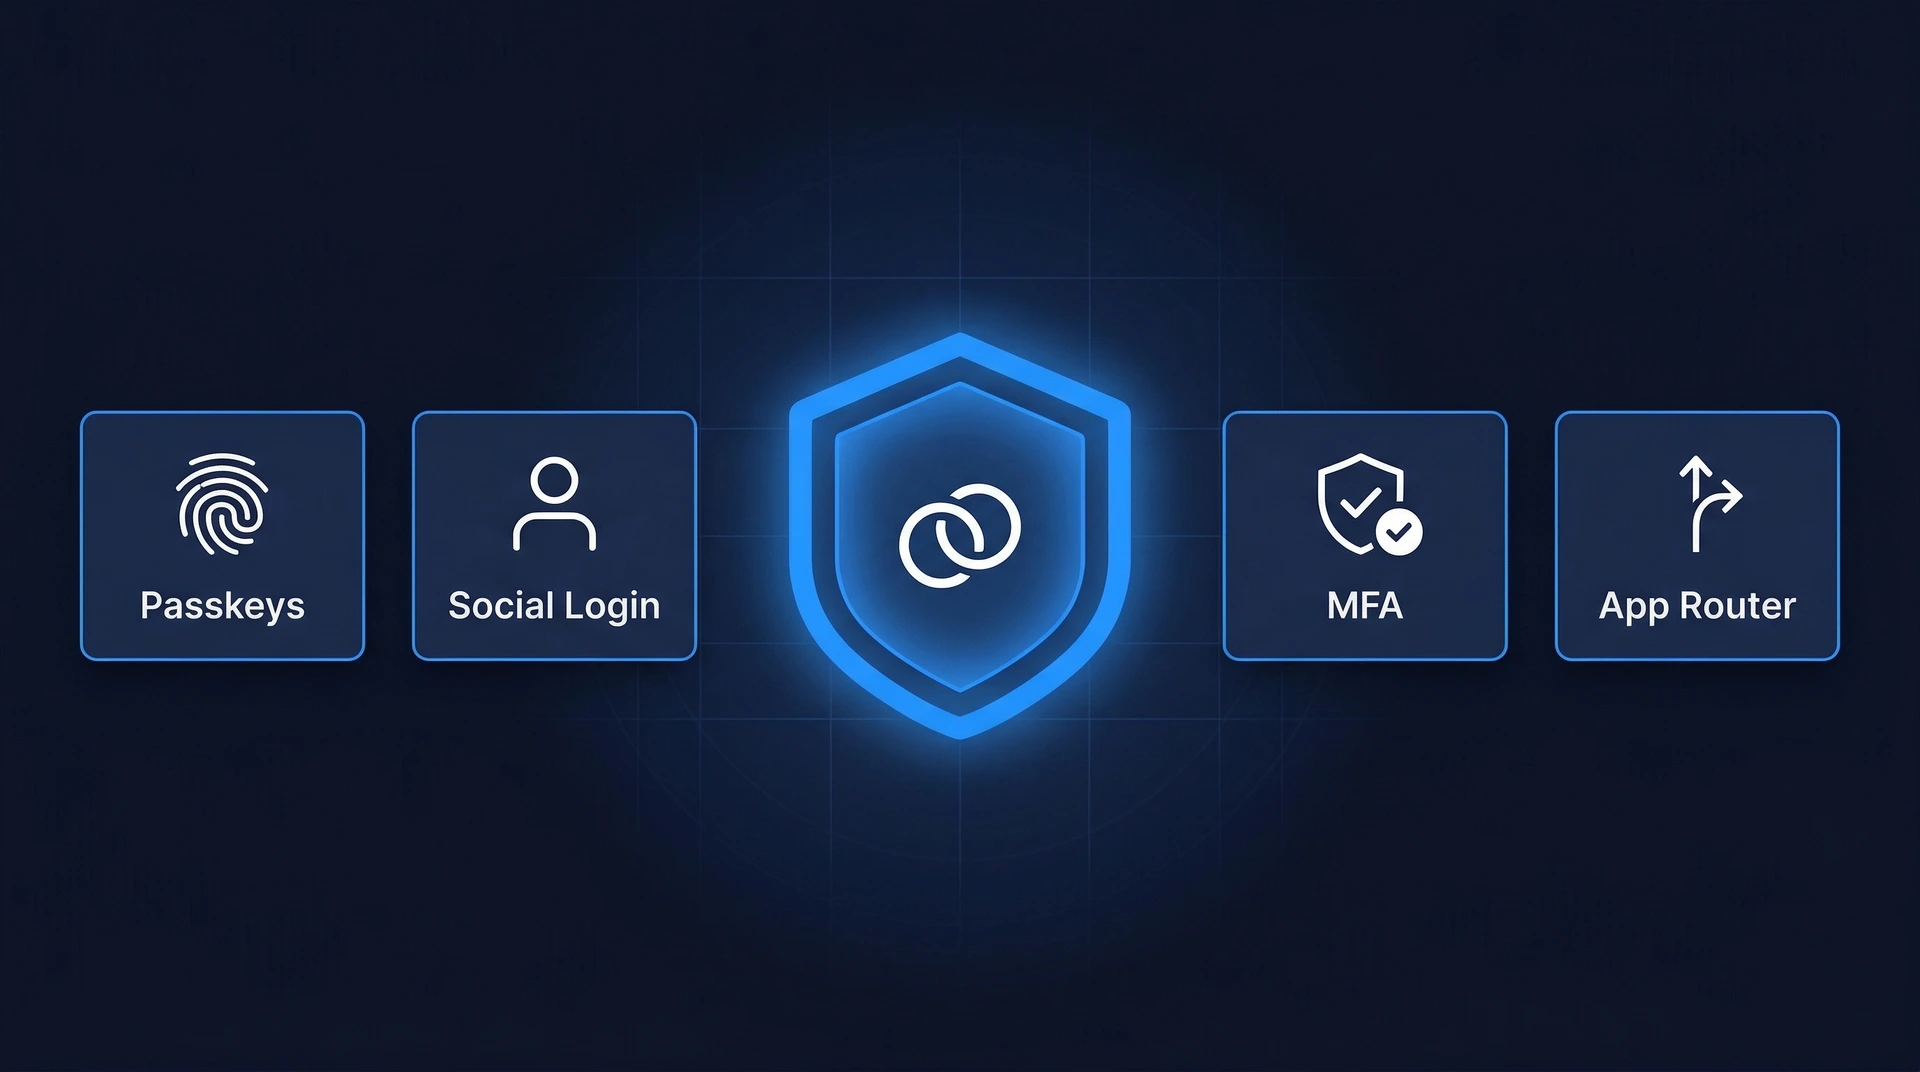
If you use Authgear in your apps, it's like sending the sign-in process to one main login page, similar to how Google does it for Gmail, YouTube, and others. You can easily integrate authentication features into your app (Angular, Vue, React, or any JavaScript websites). It usually involves just a few lines of code to enable multiple authentication methods, such as social logins, passwordless, biometrics logins, one-time-password (OTP) with SMS/WhatsApp, and multi-factor authentication (MFA).
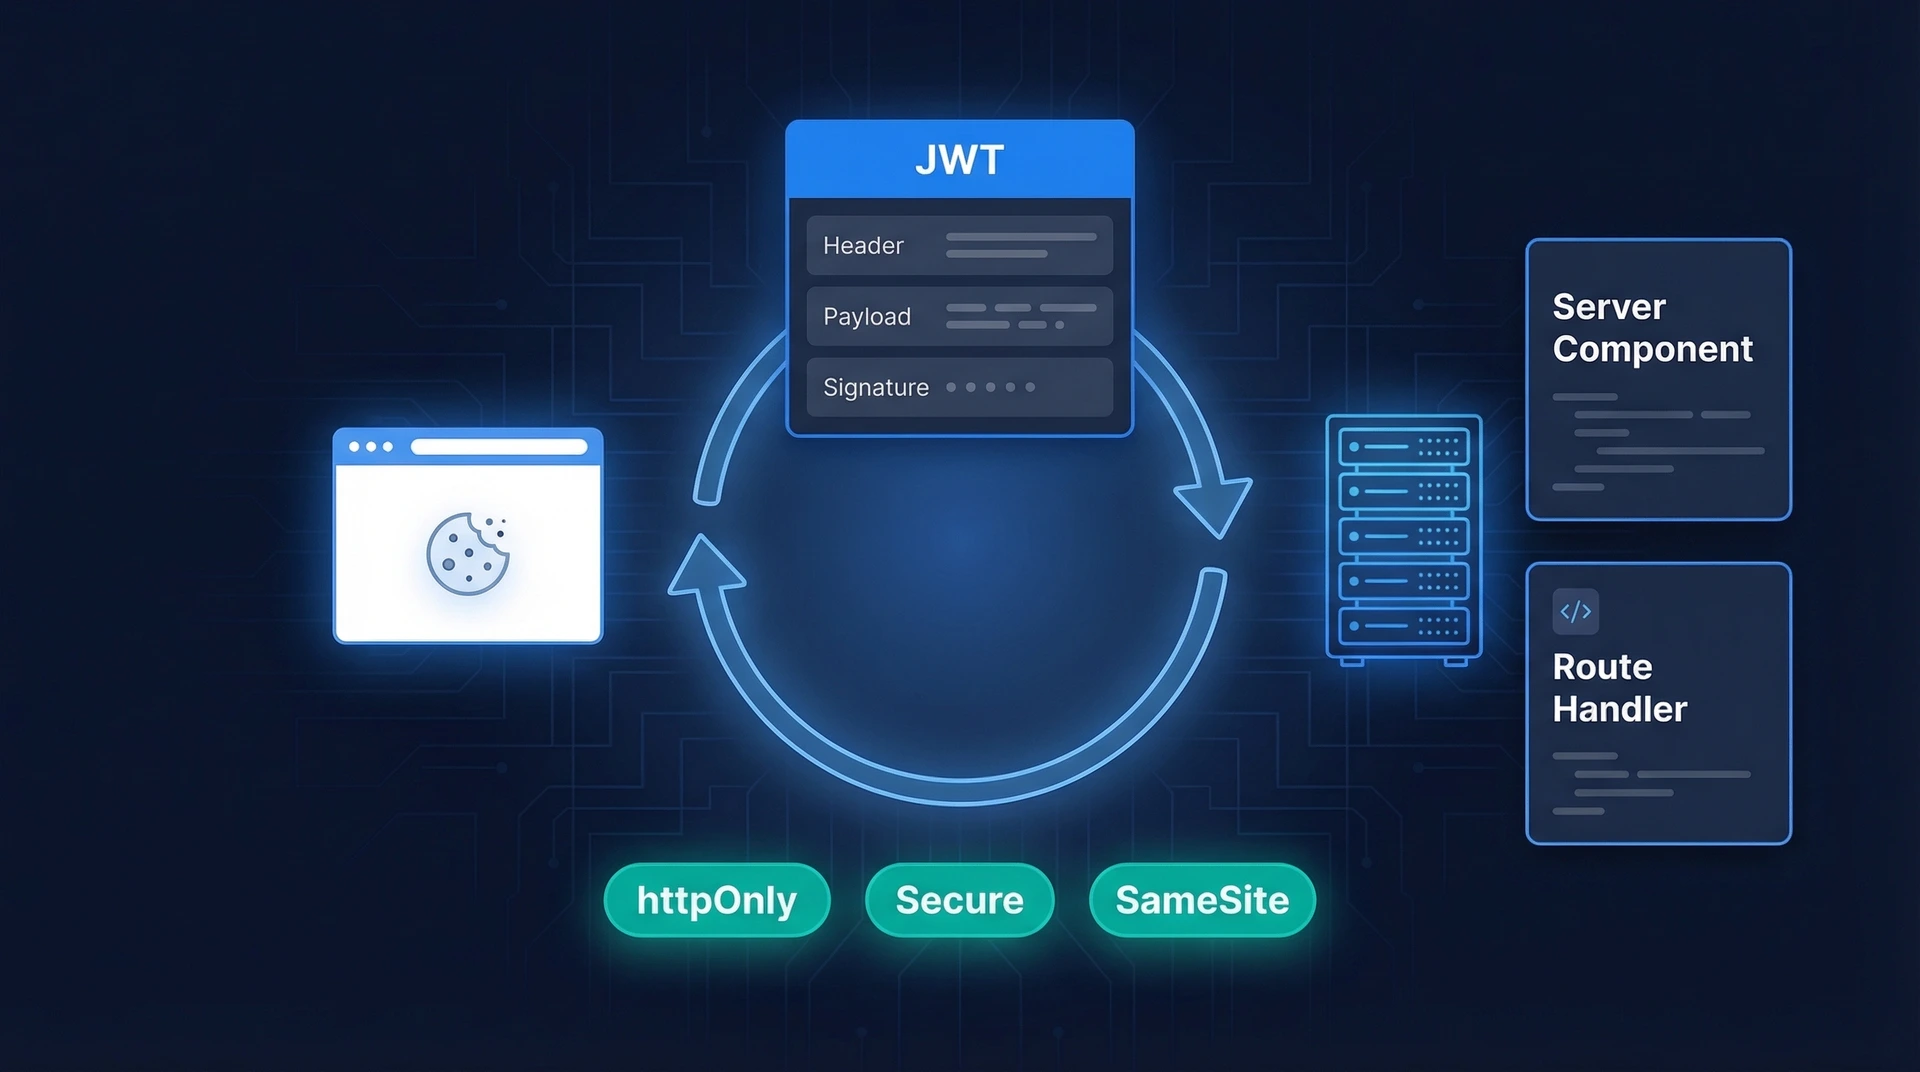
When your user logs in, Authgear creates a special ID Token that gets sent back to your app:
.png)
The implementation of authentication for SPA apps consists of two parts. In the first part, you create an Authgear app, choose a logging method and customize the sign-in UI page(optional). The second part covers the use of Authgear’s Web SDK to trigger authentication flow such as log-in, and log-out.
The first thing you’ll need to do is create an Authgear account to get started with Authgear’s Portal for free.
You’ll need to create an application so you know which users can log into which apps. The Authgear application is where you will configure how you want authentication to work for the project you are developing.
.png)
After creating the application, you'll be directed to the "Settings" tab, where you can configure the application's settings.
Configure Authorized Redirect URIs
An Authorized Redirect URI is a URL in your application where Authgear redirects the user after they have authenticated. You should set it to http://localhost:3000/ where our SPA is running. We will create it in part 2.
Note: that the trailing "/" in the above URLs must be included.
Configure Post Logout Redirect URIs
A Post Logout Redirect URI is a URL in your application that Authgear can return to after the user has been logged out of the Authgear authorization server. For the logout URL, you need to set the same address http://localhost:3000.
Click "Save" and keep the Endpoint and Client ID in mind. You will need it when initializing the connection through Authgear SDK for Web in your SPA code.

Every application in Authgear is assigned an alphanumeric, unique client ID that your application code will use to call Authgear APIs through the SDK.
Authgear supports a wide range of authentication methods. From the “Authentication” tab, you can choose a login method for your users. Options are including, by email, mobile, or social, just using a username or the custom method you specify. For simplicity, you can choose the Email and Passwordless options:
.png)
Follow the steps to create a simple SPA app and learn how to use Authgear Web SDK to integrate Authgear into your application. You can also view a full-source code on the GitHub repo.
Before we start, ensure you have Node.js installed in your system. If not, download and install it from the official website.
In this part, you'll make a simple website server to host the SPA app using ExpressJS. We'll also use it to serve our HTML page and any assets it needs, like JavaScript, CSS and so on. Start with making a new folder on your computer to keep the app’s source code (In the example, we call it authgear-spa-js-login). Then, initialize a new NPM project by running the following command:
Next we install two required packages:
Also install [nodemon](<https://npmjs.org/package/nodemon>) so that our server can be restarted automatically on any code changes in dev mode:
Next, open the package.json file and edit scripts entry to have start and dev commands like the below:
Now you can run the app in two modes: prod and dev.
For example, npm run dev will run the application using nodemon, monitoring for changes as we modify files.
Create a new file server.js in the root of the project and populate it with the following code:
Create a index.html file in the root of the project and add the following content to the created file:
To keep the demo simple, we do not use a package manager such as Webpack, we will retrieve the Authgear Web SDK from Authgear's CDN using IIFE(Immediately-invoked Function Expression) bundle. We can reference a script in our HTML directly:
You can install the Authgear Web SDK as a dependency of your application, it is useful if you are building React or React Native apps. See how to install the package.
Create a new folder called public folder in the project root folder and create another folder called css inside the public folder. Add a new file in there called main.css. This will be used to determine how the log-in and log-out button elements will be hidden on the main page depending on whether a user is authenticated or not.
Open the newly-created public/css/main.css file and add the following CSS:
After creating an HTML file and applying CSS styles, see now how our page looks like by running npm run dev and accessing it at http://localhost:3000.
.png)
To add some action to the page, we create a new directory in the public folder called js, and add a new file in there called app.js.
Copy and paste the following JS code to app.js:
Replace AUTHGEAR_ENDPOINT and CLIENT_ID with the endpoint and client ID for your Authgear client application.
The code above configures a new Authgear client, and defines login and logout logic.
Let’s breakdown down app.js code in the previous section and understand how authentication is achieved with Authgear:
Login flow
login: The login function is called by the Login button previously defined in the HTML page. It performs the login action by calling authgearClient.startAuthentication Authgear’s function. It redirects the user to the Auhthgear login page. After the user logs in successfully, they will be redirected back to the same page we set in redirectURI. Run the project and click the Login button. You should be taken to the Authgear Login Page configured for your application. Go ahead and create a new user or log in using an email (we specified the Passwordless Email login method in the first part). When you try to log in with your email, you should receive a magic link to your email box to confirm login operation.

After authenticating successfully, you will be redirected to the page you were before.
Logout flow
logout: This function logs the user out and redirects them back to the original page (at http://localhost:3000). It uses Authgear’s logout function and logs a message to the console indicating the result of the operation.
Update the UI
window.onload: This is a function that runs when the page loads. It configures the Authgear client and updates the UI. If the page's URL contains a "code=" which means the user is authenticated (code query will be received from Authgear server), it updates the UI again and removes the "code=" from the URL.
Evaluate the authentication state
updateUI: This function updates the status of the login and logout buttons based on whether the user is authenticated or not. In Authgear, you can check if the user has logged in or not with sessionState attribute. If the user is authenticated, we disable the login button and enable the logout button, and vice versa if the user is not authenticated.
Authgear provides a pre-built User Settings page for your users to view and modify their profile details and security settings.
The openUserSettings() function in our example app call open('/settings') method of the Authgear SDK to open the User Settings page when a user clicks on the User Settings button.
Throughout the post, you learned how you can quickly add passwordless email-based authentication to any JavaScript web page in just 10 minutes using Authgear. There's much more you can do with Authgear, for example, you can obtain the current user info through SDK, or if you needed to securely communicate from your web page to a backend API, you can include an access token to the HTTP requests to your application server.
Privacy is important to us, so you have the option of disabling certain types of storage that may not be necessary for the basic functioning of the website. Blocking categories may impact your experience on the website.